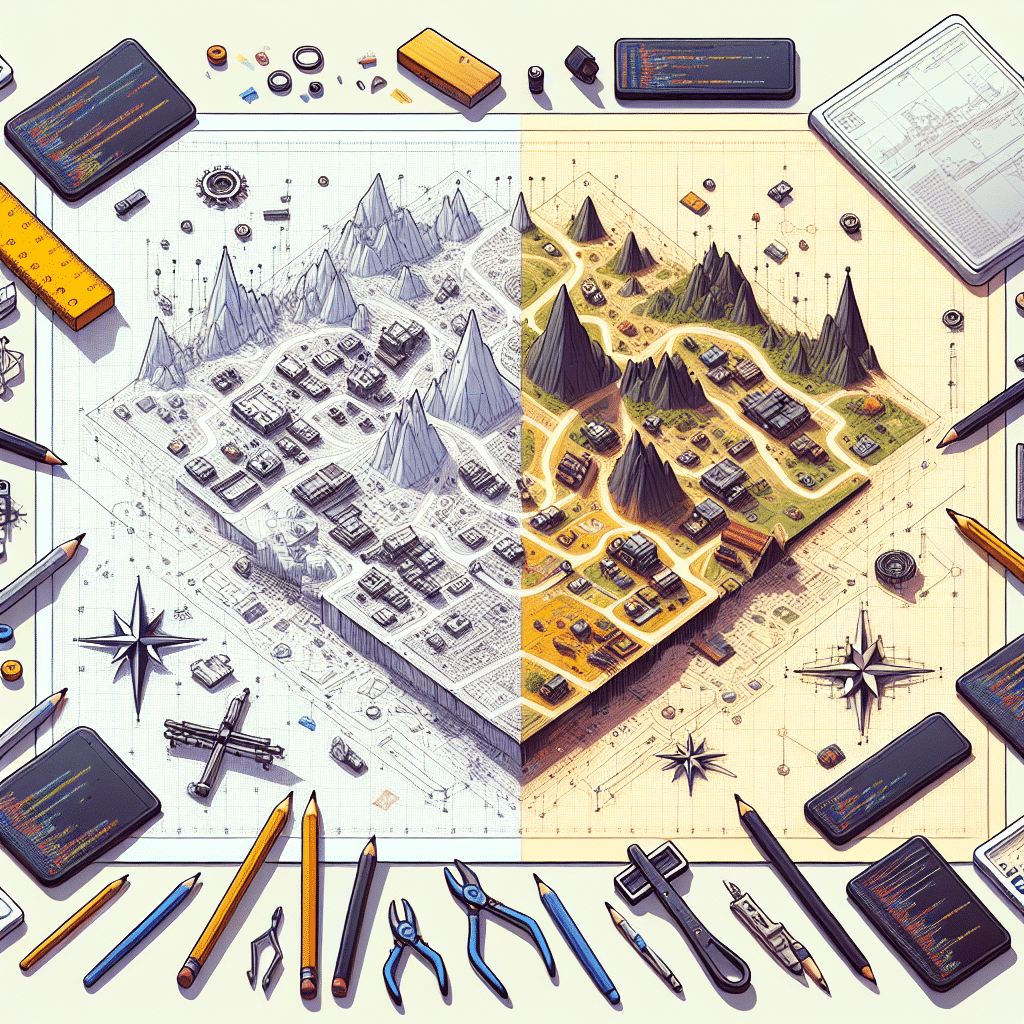
Creating a custom map in FiveM, the popular modification framework for Grand Theft Auto V, opens up a world of possibilities for server owners and players alike. It’s a journey that transforms a mere concept into a digital playground where stories unfold and adventures begin. This detailed guide walks you through the step-by-step process of building a FiveM map, from initial concept to final creation, ensuring you have all the necessary tools and knowledge to bring your vision to life.
Step 1: Conceptualization
Every great creation begins with an idea. Conceptualizing your map is the foundational step where you define the purpose, theme, and scale of your project. Whether you’re aiming for a realistic cityscape or a fantastical realm, it’s crucial to sketch out your ideas, list the key features, and consider the player experience. Inspiration can be drawn from various sources, including real-world locations, movies, or even other video games. Remember, a well-thought-out concept serves as a blueprint for your map’s development.
Step 2: Planning and Design
With your concept in hand, the next step is to plan and design your map. This phase involves detailed mapping of the layout, including roads, buildings, natural landscapes, and any specific zones like race tracks or combat arenas. Tools like Photoshop or GIMP can be handy for creating a top-down view of your map, which acts as a guide during the building process. Additionally, consider the flow of gameplay and how players will interact with the environment. Thoughtful design ensures a cohesive and engaging experience.
Step 3: Choosing the Right Tools
Before diving into the construction of your map, it’s essential to select the appropriate tools. The FiveM community recommends using tools such as OpenIV for custom models and textures, and CodeWalker or Map Editor for placing and editing objects within the game. Each tool has its strengths, and often, a combination is used to achieve the best results. Familiarize yourself with these tools, as mastery over them will significantly streamline the creation process. For resources and tutorials, visit our site at FiveM Store.
Step 4: Building the Map
The building phase is where your map starts to take shape. Begin by importing your custom models and textures into FiveM using OpenIV. Next, use Map Editor or CodeWalker to place objects and design the landscape according to your plan. This step can be time-consuming, as it involves meticulous placement and adjustment of objects to match your vision. Patience and precision are key here, as even minor details can significantly impact the overall aesthetic and functionality of your map.
Step 5: Testing and Optimization
After assembling your map, rigorous testing is crucial to ensure everything functions as intended. This includes checking for any bugs, glitches, or performance issues. Optimization is also an essential part of this step, as you’ll want to ensure your map runs smoothly on various systems. Consider adjusting textures, object densities, and other factors that may affect performance. Gathering feedback from beta testers can provide valuable insights into potential improvements.
Step 6: Finalizing and Publishing
Once your map has been thoroughly tested and optimized, it’s time to finalize and publish. This involves packaging your map into a resource that can be easily installed on FiveM servers. Be sure to include a detailed installation guide and any necessary credits for third-party assets. Publishing your map on platforms like the FiveM Store can help you reach a wider audience and receive feedback from the community.
Conclusion
Building a map for FiveM is a rewarding process that combines creativity, technical skill, and community engagement. By following these steps, you can transform your initial concept into a vibrant, immersive world that players can explore and enjoy. Remember, map creation is a journey of learning and experimentation, so don’t hesitate to seek advice from the FiveM community and utilize resources available on platforms like the FiveM Store. With dedication and passion, your map can become a beloved addition to the FiveM universe.
FAQs
What tools do I need to start building a FiveM map?
You’ll need a combination of tools such as OpenIV for importing custom models and textures, and CodeWalker or Map Editor for placing objects in the game. Familiarizing yourself with these tools is crucial for efficient map creation.
How can I ensure my map performs well on different systems?
Optimization is key. This includes adjusting textures, reducing object densities, and eliminating unnecessary assets that may impact performance. Testing your map on various systems and gathering feedback will also help identify areas for improvement.
Where can I publish my finished map?
The FiveM Store is an excellent platform for publishing your map, allowing you to reach a broad audience of FiveM players and server owners. Be sure to include a clear installation guide and credit any third-party assets used in your creation.
Building a map for FiveM is a complex but immensely satisfying project. By breaking down the process into manageable steps and leveraging the right tools and resources, anyone can bring their unique vision to the FiveM community. Remember, creativity and persistence are your best tools in this journey from concept to creation.


